

Now that we’ve (almost!) survived the long winter slog, spring is finally on the horizon. That means it’s nearly time to start your seedlings indoors.
And with that comes the perfect opportunity to make use of the food scraps you’ve been collecting throughout the winter months. So, in this blog, we’ll tell you how to start your seedlings the FoodCycler™ way.
Grab a notebook – there’s a lot to take in!

The Benefit of Adding Soil Amendment From Your Countertop Food Waste Recycler to Your Seedlings
If you're new to gardening you can be forgiven for wondering why FoodCycler™ is so passionate about adding soil amendment, AKA Foodilizer™, to soil.
So, let’s run you through 3 simple benefits:
- Foodilizer™ is nutrient rich, delivering a hearty dose of goodness to your seedlings via the soil. This includes phosphorus, potassium, and nitrogen, as well as tons of micronutrients.
- You can get away with watering your seedlings less frequently! Foodilizer™ retains moisture, meaning there’s always water available, reducing the risk of dehydration.
- You relish the feel-good factor in putting your kitchen waste to use instead of going to landfills and releasing methane gas into the atmosphere.

The Best Food Scraps to Add Into FoodCycler
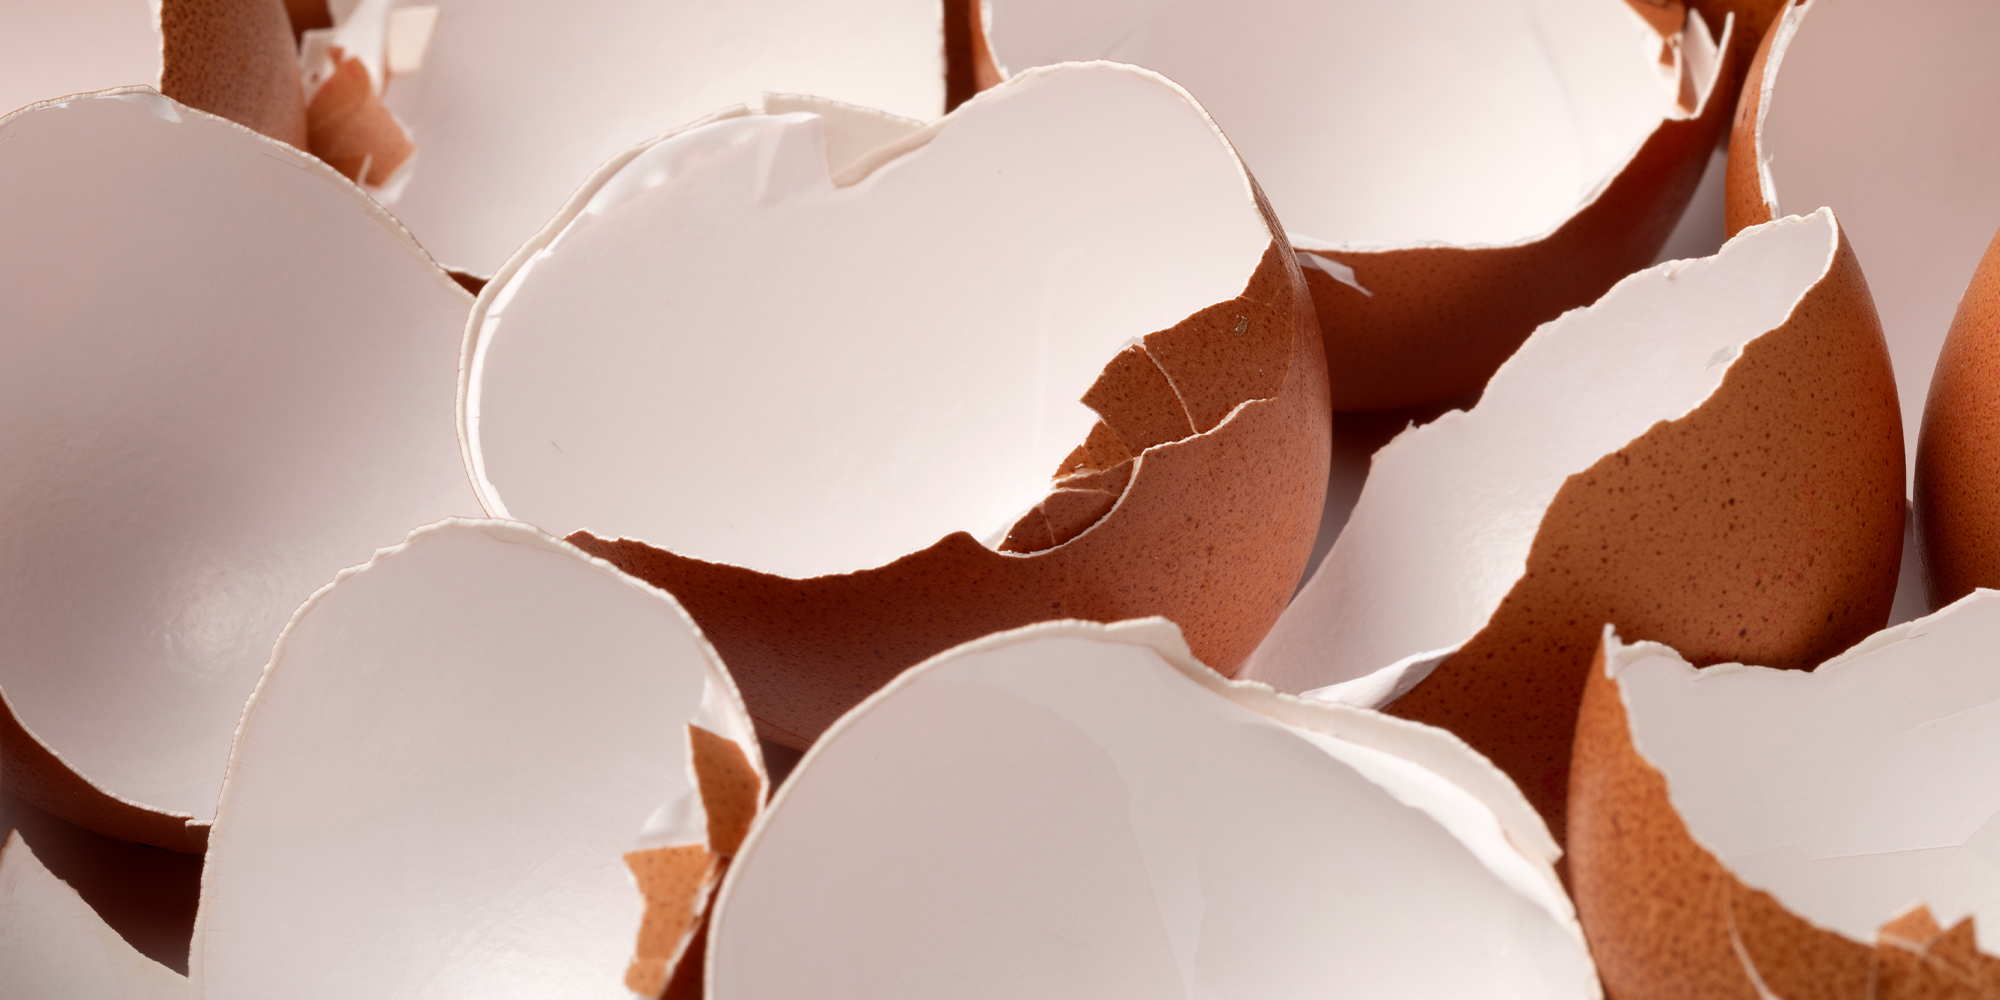
FoodCycler’s can break down a wide range of food scraps, from fruit and vegetable cuttings, to bones, shells, and meats. But simply recycling your food waste doesn’t necessarily mean your seedlings will benefit.
Seedlings will thrive with the nutrients provided by healthy, whole, and organic foods, whereas salty, sugary, processed, or fatty foods can harm the roots and inhibit growth¹.
If in doubt, you can think of your Foodilizer™ as your seedling’s 5-a-day – the healthier, the better!

6 Steps to Start Your Seedlings with a FoodCycler

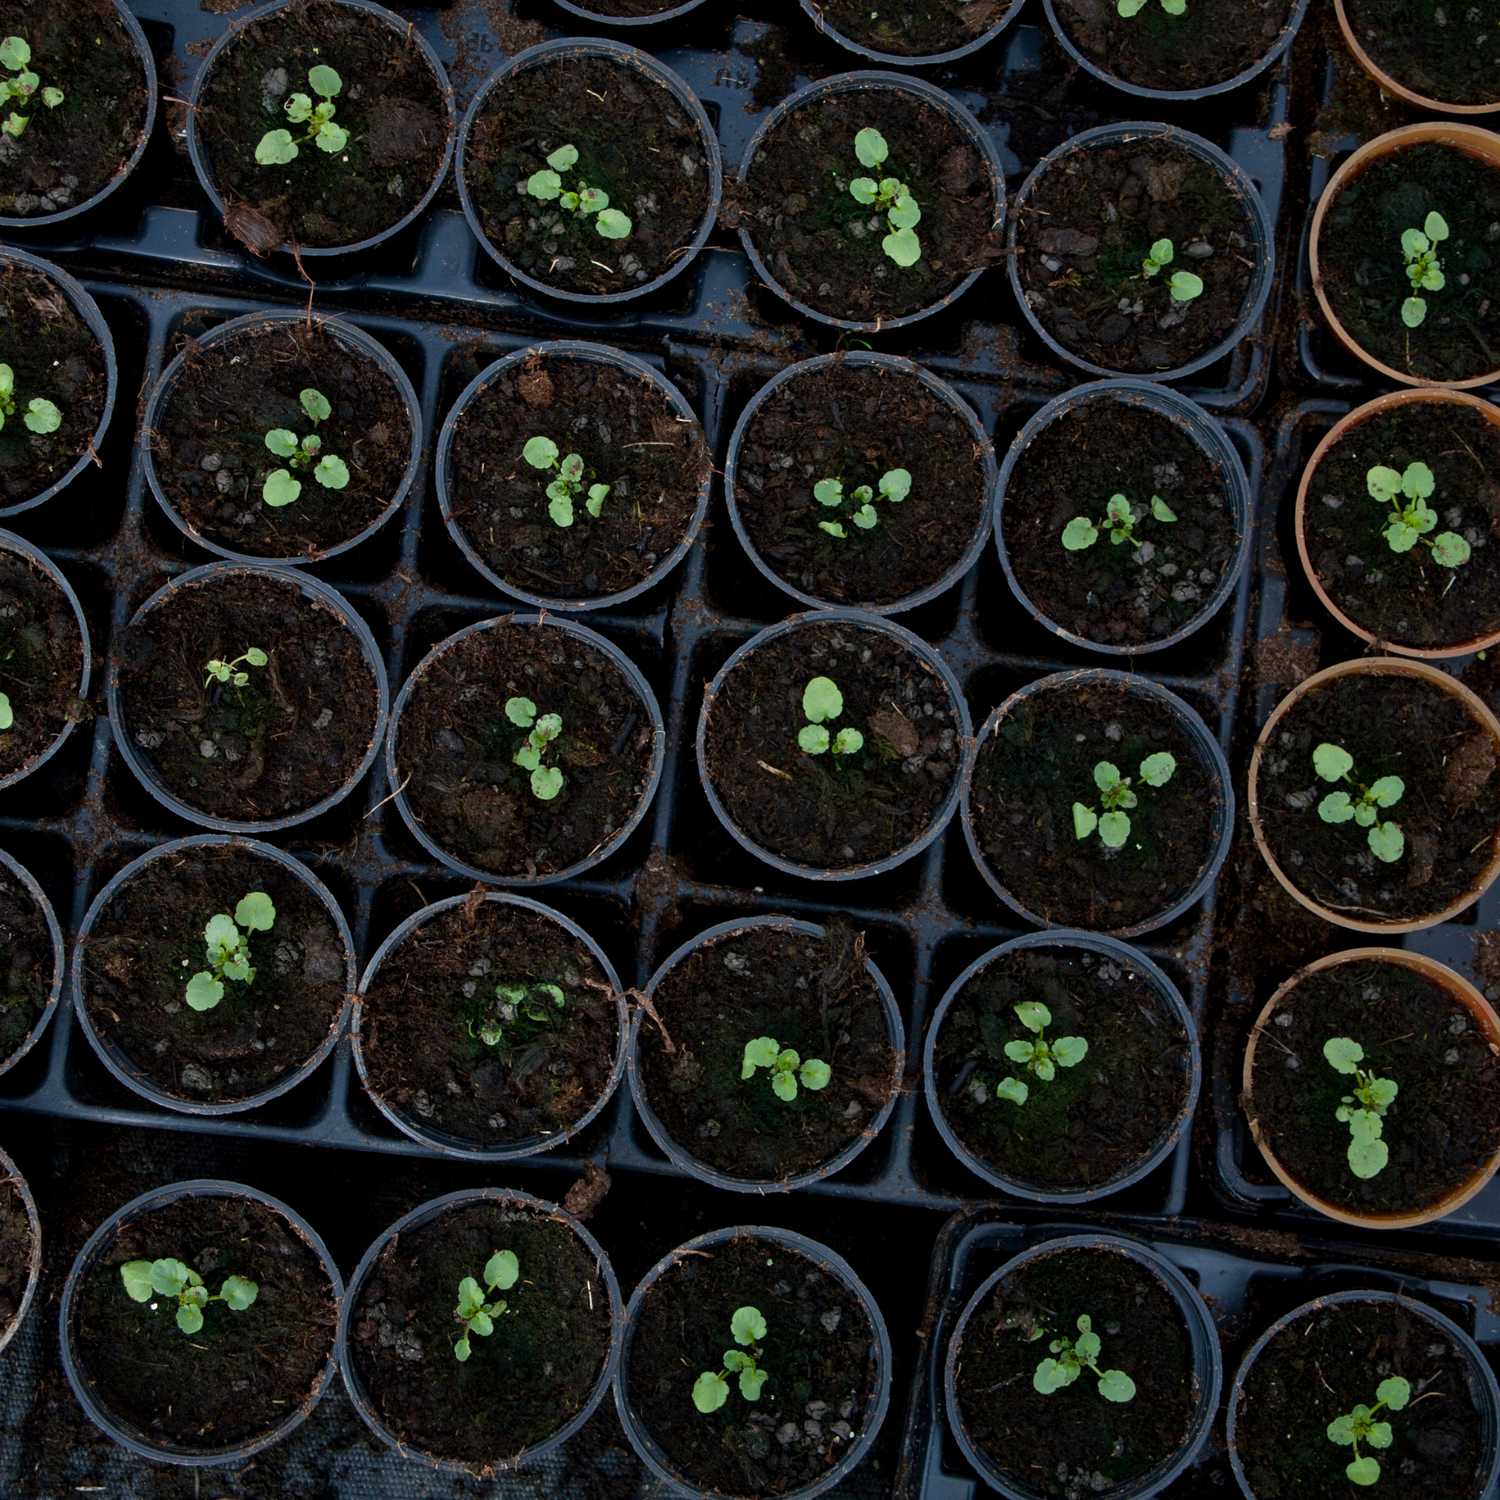
1. Find a Bright Location
Seedlings typically require 12-16 hours of light a day, but depending on the time of year, that can be tricky. If you have a windowsill that benefits from a constant stream of sunlight, this is an ideal spot²! However, it’s wise to move the seedlings at night to protect them from colder temperatures. Alternatively, you can use supplemental lighting.

2. Source Growing Containers
Next, your seedlings will need a home! You can use small pots or simply recycle items you already have, such as yogurt pots, toilet paper rolls, or egg cartons. Just remember to add a hole in the bottom for water drainage.

3. Prepping the Soil
You should begin the soil prep process with a fresh soil mix suitable for seedlings. Reusing soil from your garden can put your seedlings at risk of disease, compromising their growth – you want your seedlings to be as healthy as possible.
Once your seedlings have established growth, you can combine your homemade soil amendment from your countertop food waste recycler with your soil, at a ratio of 1 part Foodilizer to 20 parts soil. This is because kitchen waste produces an impressive amount of nitrogen. With too much nutrient matter in the mix, it’s possible to “burn” your plants before they have a chance to spring to life.
At FoodCycler™, we recommend using a plastic bin to prep your soil. This helps you to achieve the right measurements, plus its small size is perfect for planting indoor seedlings.
The Countertop Food Waste Recycler Foodilizer™ Rule of Thumb
Did you know? Your soil’s existing bacteria loves to feast on tasty bio-matter produced from the Foodilizer™ in your indoor food waste recycler. Although not essential, we recommend adding your seedlings to the Foodilized soil a day or two following the addition of your homemade soil amendment.
The FoodCycler™ FC-50 and the new FoodCycler™ ECO-5, are electric food waste recycler machines that can break down food scraps to a fraction of the original volume in a matter of hours. So, you don’t even need to wait around to begin the curing process!
4. Adding the Soil
The next step is to take your chosen container and add the Foodilizer™-soil mix. Fill it almost to the top and pat down gently, removing unwanted air pockets. It’s best to provide the mix with a little water, leaving it to drain before adding your seedlings.
5. Sowing Your Seedlings
Carefully sprinkle your seeds on top of the prepared Foodilizer™-soil mix. Unless they’re really tiny and therefore hard to hold between your fingers, you should be able to leave a few centimeters between each one. Then it’s time to add a thin layer of Foodilizer™-soil mix, pressing gently to allow the seeds to touch the soil.

6. Encouraging Seedling Growth
You can use a plastic bag to cover each pot, ensuring the food waste recycler stays moist and encourages plant growth by retaining the ideal temperature. When you’re done, place your seeds on a windowsill or underneath supplemental lighting.

7. The Last Steps
As soon as you can see your seedlings have established growth of a few centimetres, remove the plastic bag. They should stay like this until the second pair of leaves emerge, when you can transfer your seedlings to a seed tray, leaving a few centimetres between each one. Wait a few weeks, or until the plant gets significantly bigger, before moving to a large individual pot and placing outside. When transferring your seedlings to their forever home, you can add more Foodilizer to your soil to re-up on the key nutrients that will help them grow even stronger by mixing in another 1:20 of soil amendment!
And voila – you have successfully helped your seedlings grow the FoodCycler™ way with a countertop food waste recycler!
Not sure whether a countertop food waste recycler or compost alternative is right for you? We’re pretty sure your seedlings (and your garden) will thank you for it – plus, it makes your job as a gardener that little bit easier.
Why not check out FoodCycler’s food waste recyclers? With three models to choose from, each boasting a different bucket capacity, you can find the right one for your household!
References
1 - Iowa State University. (2020). Gardening While Isolated: Fertilizing Your Seedlings. [online] Available at: https://www.extension.iastate.edu/news/gardening-while-isolated-fertilizing-your-seedlings#:~:text=Seedlings%20should%20be%20fertilized%20after,as%202-2-3. [Accessed 10 Oct. 2024].
2 - Iowa State University. (2024). How to Successfully Start Seed Indoors. [online] Available at: https://yardandgarden.extension.iastate.edu/how-to/how-successfully-start-seed-indoors [Accessed 10 Oct. 2024].
A Note on Terminology
The FoodCycler® is a countertop electric food waste recycler that breaks down food scraps through a mechanical process into a dry, lightweight by-product that can be used in gardening applications as a soil amendment. The FoodCycler® and other electric food waste recyclers are not composters, nor do they produce compost or soil as they do not require additional microbes to break down food waste with bacteria. However, the term "electric composter" has been used to describe electric food waste recyclers.

