Table of Contents
- How to Make a Living Wall Indoors
- Table of Contents
- Key Takeaways
- What Is a DIY Living Wall?
- How to Create Your Own Living Wall of Plants
- TOP TIP
- Find More Gardening Tips at FoodCycler®
- Frequently Asked Questions
Key Takeaways
- Indoor living walls are vertical gardens that can improve air quality and bring plant life into your home without taking up space.
- You can learn how to make a living plant wall with a frame, topsoil, and your choice of plants.
- Make sure to choose a location with plenty of light for your indoor wall to thrive.
- Use your FoodCycler® to create a soil amendment for your plants.
Plants are the perfect addition to any home, but if you spend any time on social media, you’ve probably noticed a growing trend in recent months – literally. The indoor green wall has completely taken over the world of interiors, ideal for both the green-thumbed and design-obsessed.
If you’re wondering how to make a DIY living wall indoors, you’ve come to the right place. In today’s blog, we’re going to provide you with a step-by-step guide to upgrade your interior space with a feature any plant-lover will envy, and how you can use the innovative science behind FoodCycler to recycle your food waste into something beautiful.
Grab your notepad, and let’s get started welcoming the great outdoors into your space.

What Is a DIY Living Wall?
If you’ve stumbled upon this article out of pure curiosity, you might be wondering: what is an indoor living wall?
The short answer is that it’s a self-supported vertical garden through which the plants get all of the nutrients they need to thrive. They’re extremely common in urban community areas, but they have recently grown in popularity for indoor living spaces, too.
Do Living Walls Have Any Benefits?
An indoor living wall of plants offers a whole host of benefits, including:
- Air-purifying qualities, especially if you opt for air-filtering plants.
- A unique interior feature that brings a touch of nature indoors.
- As a low-maintenance hobby for people with less time on their hands or gardening space to work with.
- Great indoor garden for homes short on outdoor space.
- Lower temperatures and reduced energy costs, according to the American Society of Landscape Architects.
How to Create Your Own Living Wall of Plants
Now we’ve established what an indoor green wall is and why you might want to build one, let’s take a look at how you can bring yours to life.

1. Search For Inspiration
When considering how to make a living wall, the first thing to do is to search for inspiration. Browse on Pinterest, Instagram, or your favorite home websites, and collect some ideas for how you’d like your living wall to look.
The Spruce notes there are plenty of plant wall shapes and styles to choose from such as framed living wall art and deconstructed walls. You can also incorporate different plants to suit different interior themes.
Try Making a Vision Board for Indoor Living Wall Inspiration
We recommend putting together a virtual vision board of all your favourite indoor gardens before you begin planning and shopping for supplies. This will avoid waste or overspending and ensure you achieve the exact look you’ve been dreaming of.

2. Choose the Right Location for Your Living Wall
Choosing the right spot for your indoor living wall is probably the most crucial step on the list. Assess your home and opt for a sturdy wall that can take the weight of your installation. If you’re renting, you might want to consult your landlord for permission first, too.
Make Sure Your Living Wall Has Ample Light
There are two other key considerations when learning how to build a living wall:
- Find somewhere that gets plenty of light so your indoor green wall can thrive.
- A wall too close to a window might be negatively impacted during colder weather.

3. Mark and Measure Your Chosen Space
Next up, it’s time to mark and measure your chosen space. Figure out how much room on the indoor living wall you’d like to be taken up with plants and list a few potential measurements you could work with. If you’re new and “green” to being a green thumb and want a cheaper project to start with, it’s recommended to go smaller than larger.
Precisely Mark Your Space to Make Sure Your Living Wall is Level
Living walls are built into frames and purchased at your local gardening or interior store for a small fee. Use a pencil, spirit level, and some masking tape to mark out where your frame will sit. This will help you envisage how much space it will take up.

4. Choose Your Frame
Choosing the perfect frame is one of the most exciting parts of planning how to make your DIY indoor living wall of plants. By shopping around, you’ll find a range of shapes and sizes on offer. They’re also available in different colors and materials.
Hint: Your Frame Should Prevent Water From Leaking
Some shops sell metal frames in hexagonal shapes, while others offer a more affordable plastic version. The most important consideration you need to make is finding a structure that won’t allow any water to seep into the surface your garden is attached to.
Before you blow your whole budget on a pricey frame, make sure to account for all of the other supplies you’ll need for your indoor green wall, including:
- Plants
- Drills, screws, and rawl plugs for attaching to your wall
- Topsoil

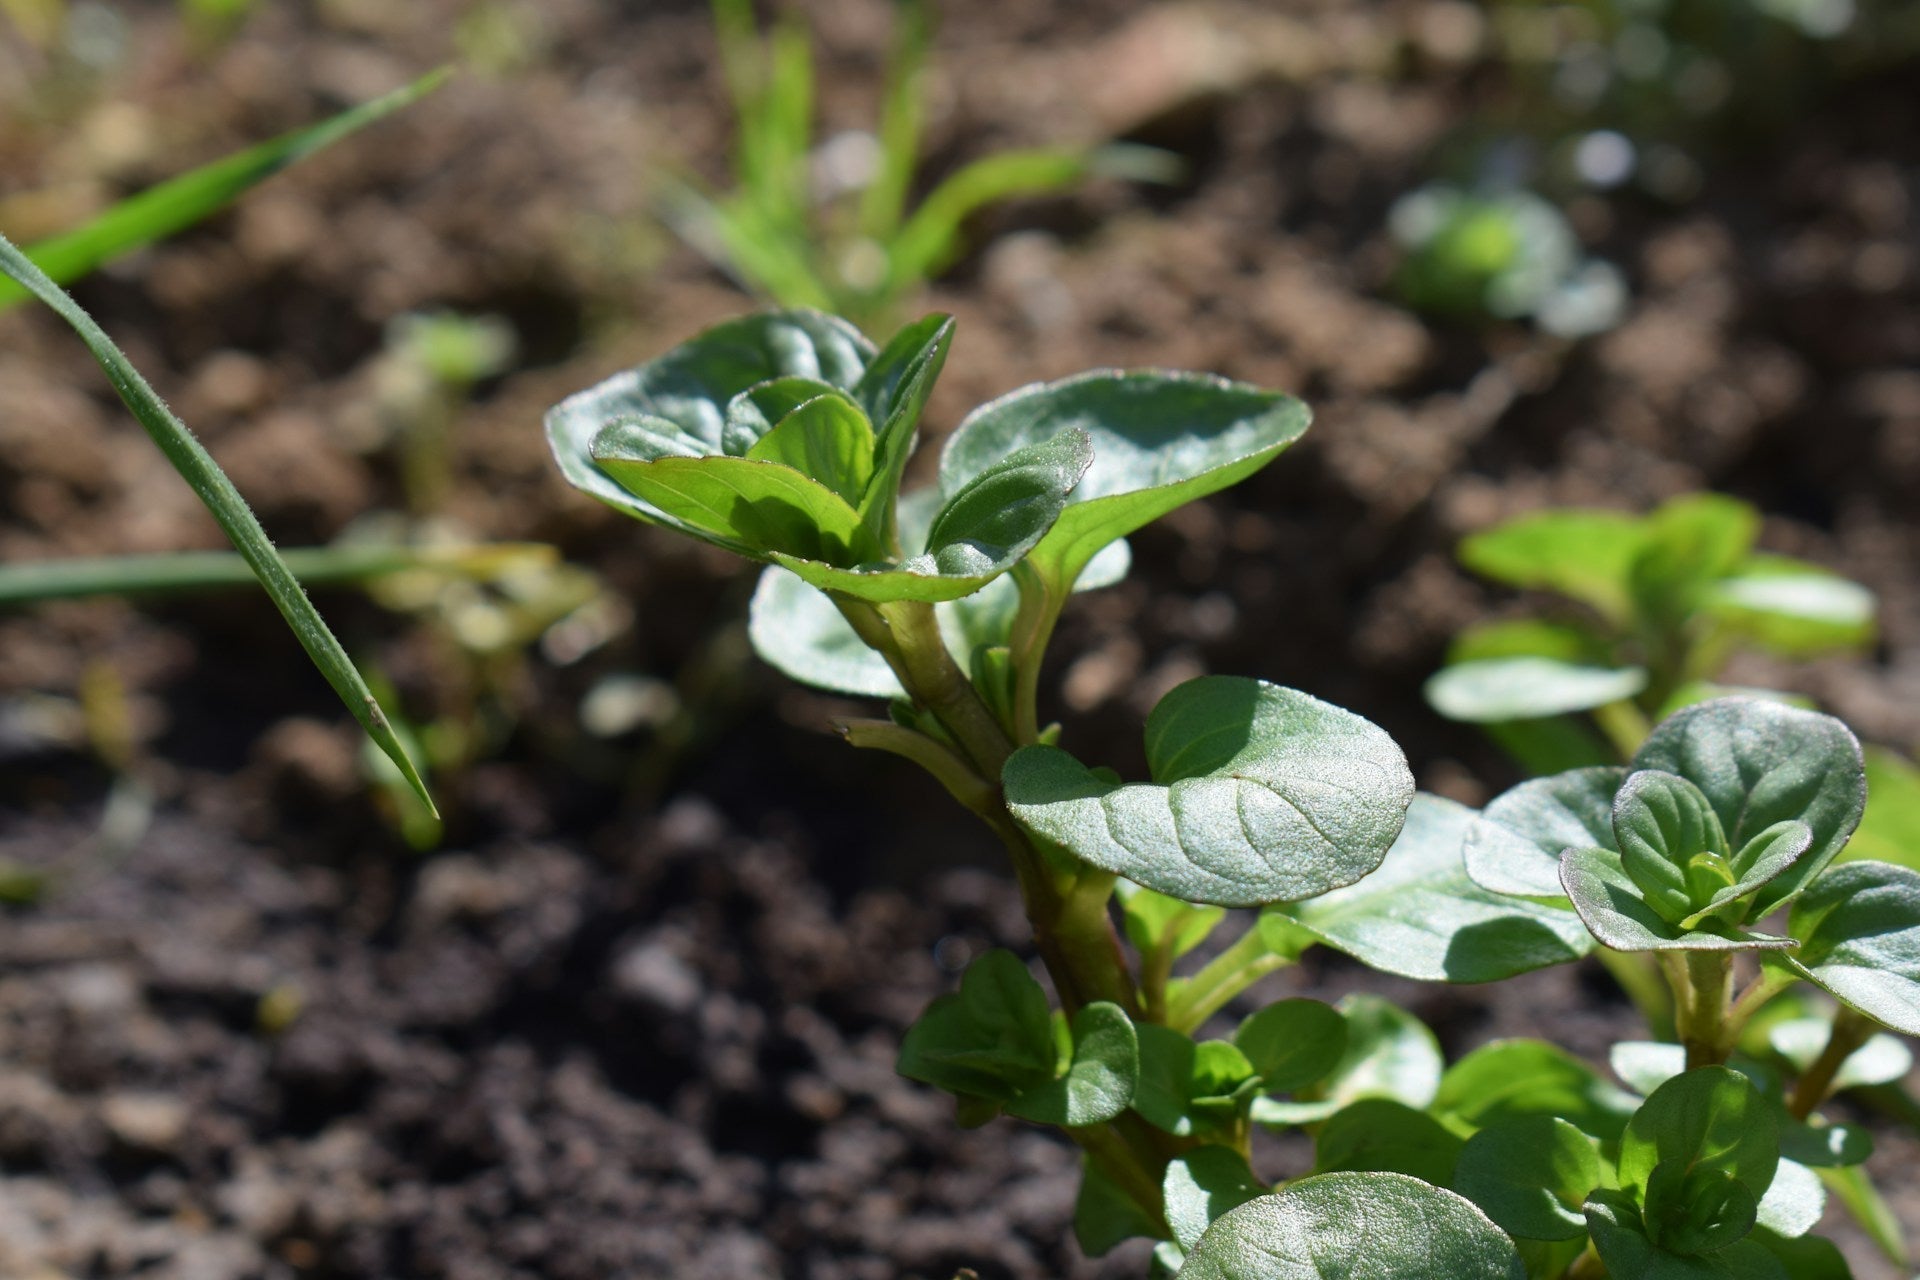
5. Buy Your Plants
Now it’s time for the really exciting part: shopping for your plants. Depending on the vibe you’re going for, you’ll want to choose plants based on their color, shape, and size to perfect the look.
If you’re wondering which plants work best for indoor living walls, we’ve got you covered. There’s a wide variety you can choose from, but these are some of the low-maintenance options that thrive in a living wall setup.


6. Set Up Your Living Wall
Once you’ve got all your supplies, it’s time to turn your indoor green wall vision into a reality. Planning how to make a DIY living wall can seem pretty complicated, but the setup is super simple. Grab your frame, attach it to the wall, and start planting.
Most vertical garden frames or kits come with guidance specific to their product, so make sure to follow them when setting up your living wall.

7. Maintain Your Living Wall
Once you’ve created a stunning living wall indoors and snapped those essential shots for your Instagram, it’s vital to put a maintenance routine in place. We recommend ‘servicing’ your indoor green wall weekly, checking the following factors off your list:
- Drainage: Make sure there’s no water build-up at any level of your living wall.
- Health: Look over your plants and remove any dead leaves or signs of disease.
- Light: Depending on your space, you may need to add artificial lighting or increase shade, especially if the weather is particularly hot outside.
- Feed Your Food (Waste) as Plant Food: If your plants are looking a little dull, FoodCycler is ready to help you transform your food waste into a soil amendment to nourish your plants
TOP TIP:
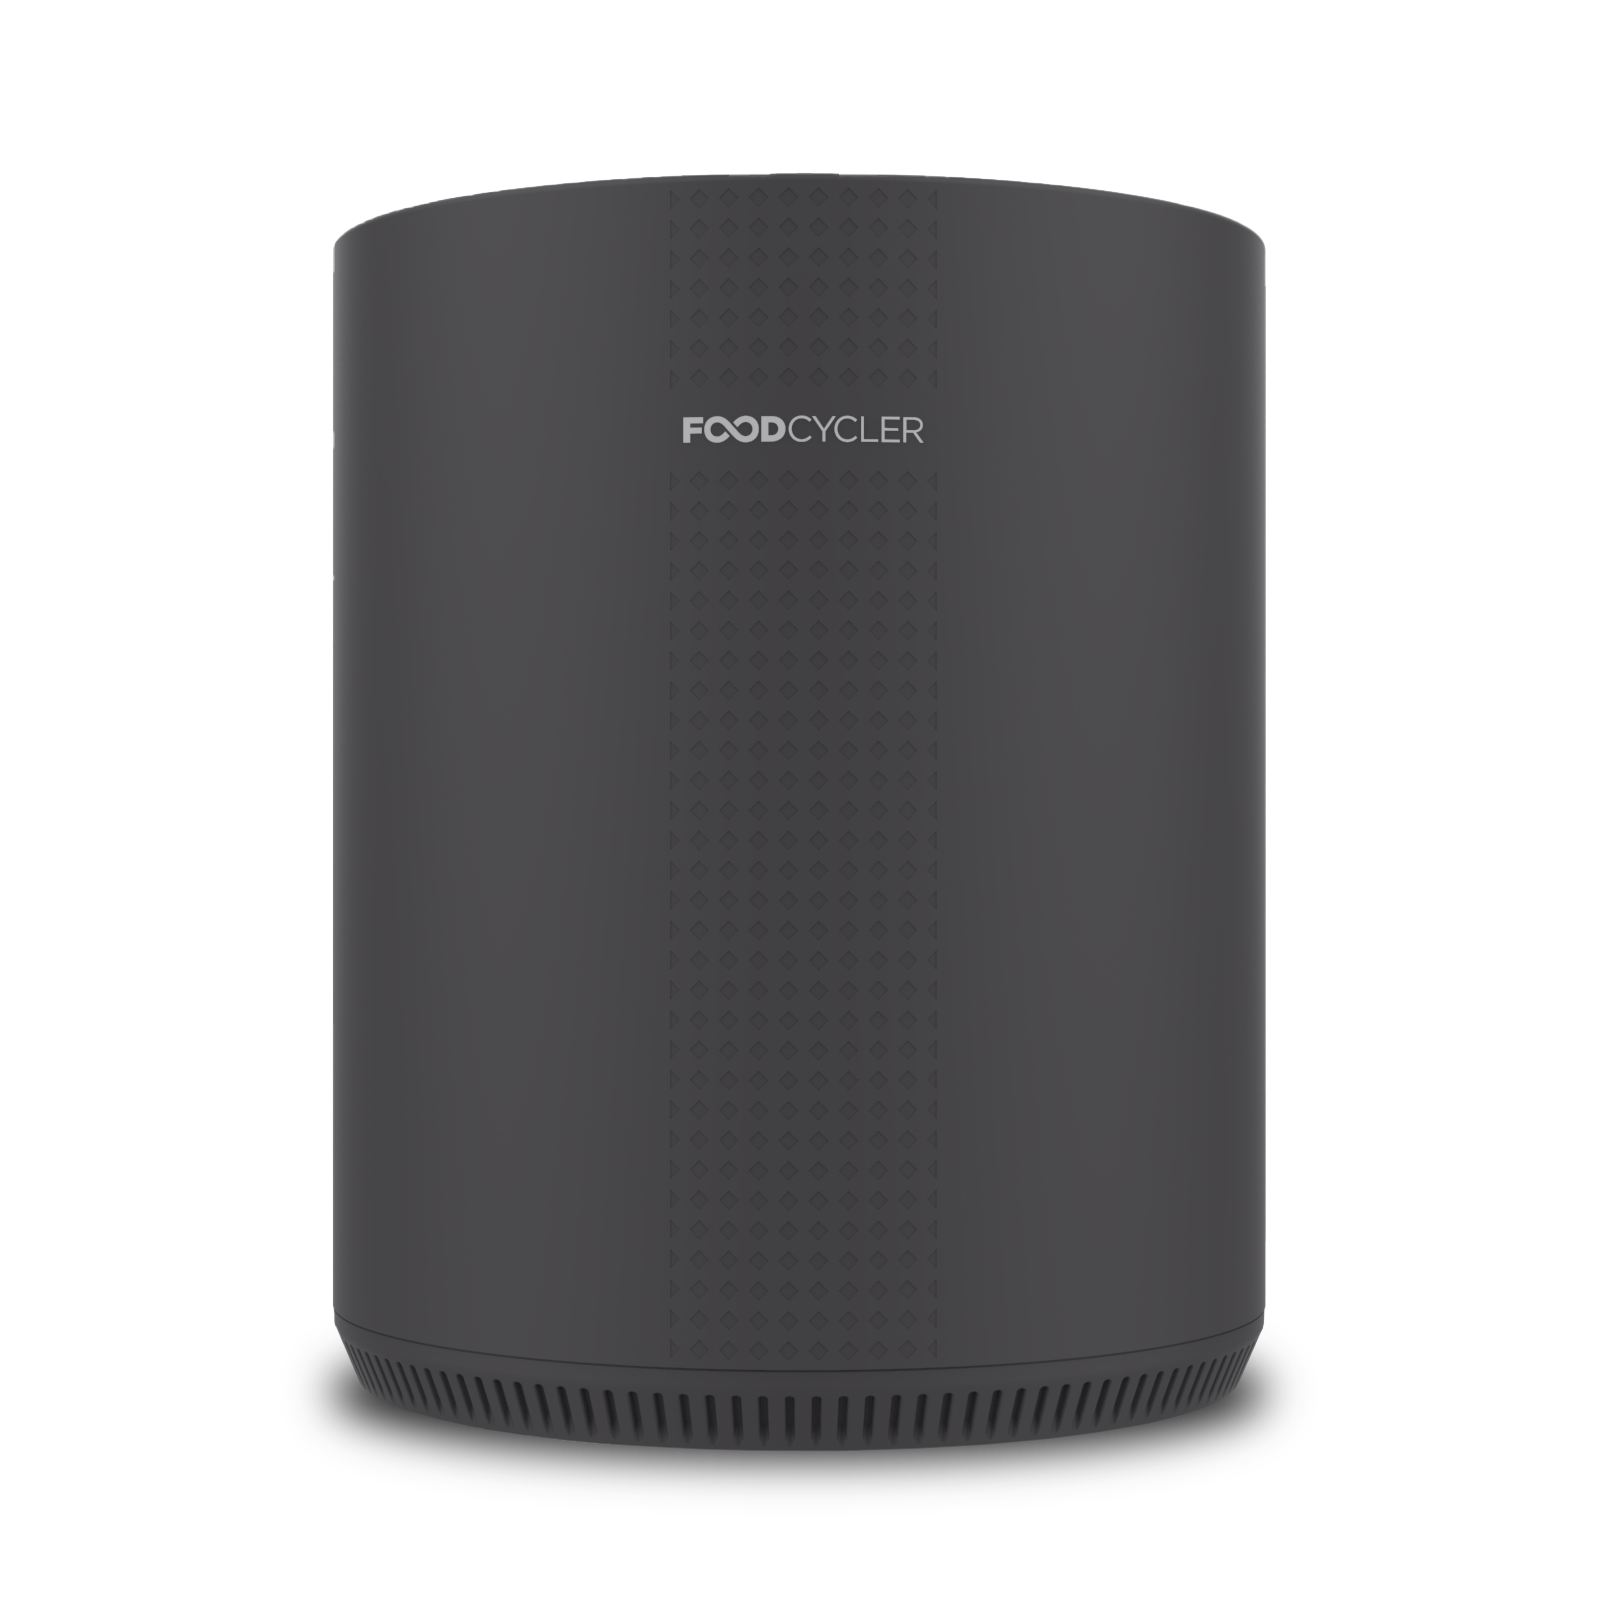
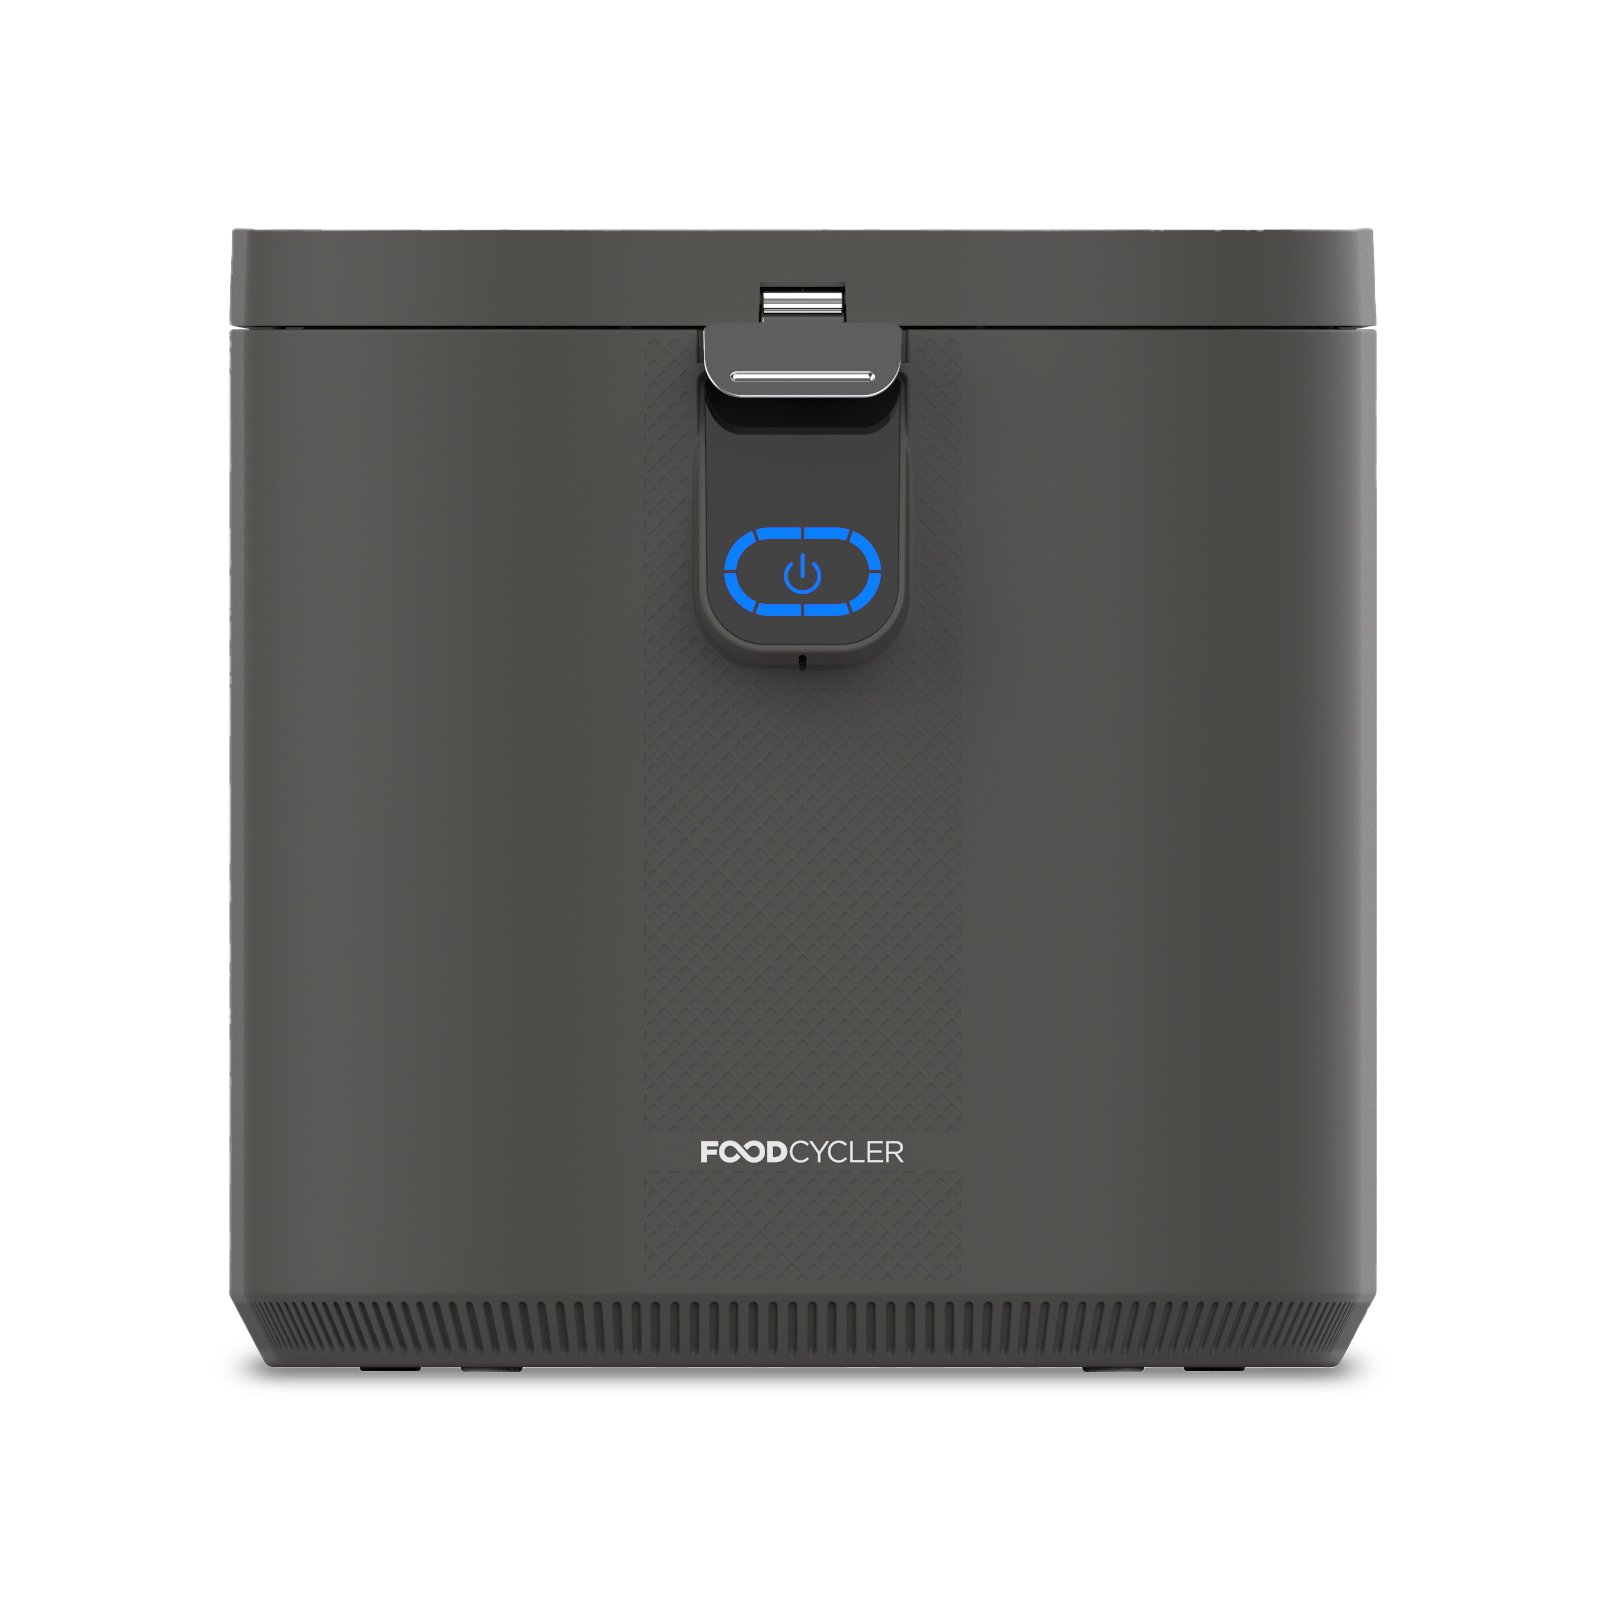
You can create your own soil amendment, Foodilizer®, at home from your household food scraps by using a FoodCycler kitchen food waste recycler.
The ideal alternative to an outdoor compost bin, the premium appliance takes up little room and produces enough goodness to give your indoor garden a much-needed boost. Save the planet by reducing your food waste, and level up your indoor living wall in the process!
Find More Gardening Tips at FoodCycler
That concludes our tips on how to make a living wall of plants! If you’re looking for more gardening tips or ways to make your life a little greener, stay tuned with the FoodCycler blog for our weekly updates.
Frequently Asked Questions
Can I build an indoor living wall myself?
Yes! Learning how to make a living wall is easy and requires minimal supplies. All you’ll do is choose or build a frame, buy your plants, install the frame, and start planting.
What maintenance does an indoor green wall need?
Maintaining a living wall requires just a few weekly or bi-weekly tasks. You’ll need to:
- Check the water reservoir and monitor moisture levels
- Trim overgrown vines
- Remove any yellow or brown leaves
- Make any lighting adjustments based on your indoor natural light
- “Feed” your living wall with your soil amendment
Where should I place a living wall?
You should place your wall in a space that receives ample natural light or where you can install grow lights to supplement low indoor light. Be wary of drafty windows and HVAC vents, though.
How does a FoodCycler food waste recycler create a soil amendment?
FoodCycler removes moisture from food waste and grinds it into a by-product that’s packed with nutrients that support healthy flora! Add your scraps, run a cycle, and use the Foodilizer left in the bucket to feed your DIY indoor living wall.
Learn more here: The Science Behind FoodCycler and FoodCycler Foodilizer Explained.
How do I use Foodilizer to feed my living wall?
Mix Foodilizer into your indoor green wall’s soil at a 1:10 ratio (or 1:20 ratio if you recycle a lot of meat or dairy-heavy food waste).
Read the Foodilizer Gardening Guide for more information.

